

by BMB, Survival Blog:
There are many things we need to prepare for before the ball drops, (SHTF, TEOTWAWKI, or whatever term you want to use) like water, food, shelter, bullets, medical supplies, aetc. But another item I feel is very important is communication with my family group. This article is about how I got into amateur radio, how I setup my basic solar-powered ham radio shack, and how I stay in practice with my equipment in my shack.
TRUTH LIVES on at https://sgtreport.tv/
I had been interested in Amateur Radio (a.k.a. “ham” radio) since I was a little boy, more than 50 years ago. I will soon be 68 years old. I often looked into getting my radio operator license but back in those days Morse code was required. I attempted many times to learn Morse code, but I finally decided that my hand-to-brain transfer was way too slow to learn such a fast moving process. I had someone tell me that I shouldn’t have any problem learning code since I was a musical person. (I have been playing the guitar over 50 years now.) He said code was all about the rhythm of the dots and dashes. But not for me, I just could not get it! Finally, everything changed… no code!! This requirement was removed on December 15, 2006. So six years later my twin brother and I decided to go for it! I don’t know why we waited so long.
So finally my adventure into ham radio began. I got my amateur license in April 2012 alongside my brother who got his license the same day. We sat beside each other taking the exam and received consecutive call sign numbers. We both studied for our General Class and passed first try. There are study sites on the internet that will get you ready for the test. This is what my brother and I used. The Amateur Radio Operator license is good for 10 years at which time you must go online and renew it. Renewal is required every 10 years. There is no additional test to take for renewal. Just go to the FCC web page and go through the renewal process.
Now to the basic setup I have for communication. I decided to go with the HF (high frequency) setup first since my brother lived about 120 miles away. We wanted something that would talk that distance without going through a repeater like the 2-meter radios would have to do for that distance. Also, we wanted to do the digital mode (Fldigi PSK31) so we went for the HF and the General Class.
I chose a basic model HF rig and it has served me well. I haven’t seen a need to upgrade to anything else. I have an Icom IC-718 HF radio which many would consider an entry-level HF rig, but it does all that I need it to do. (One of these is pictured at the top of this article.) It puts out 100 watts, but on the digital modes, in most cases, only low power of 10-20 watts is needed. To be able to work with the digital mode of course you will need a computer to operate some software, some device to connect the computer to the radio, some coaxial cable (“coax”), and an antenna.
The device that I use to connect my computer to my radio is a SignaLink USB with the required cable. The SignaLink can be bought already setup for the HF radio you plan to use it with. Fldigi is a free digital software program you can download from the internet. There are many videos online showing how to set things up, and if you are reasonably computer savvy you should not have any problem getting it going.
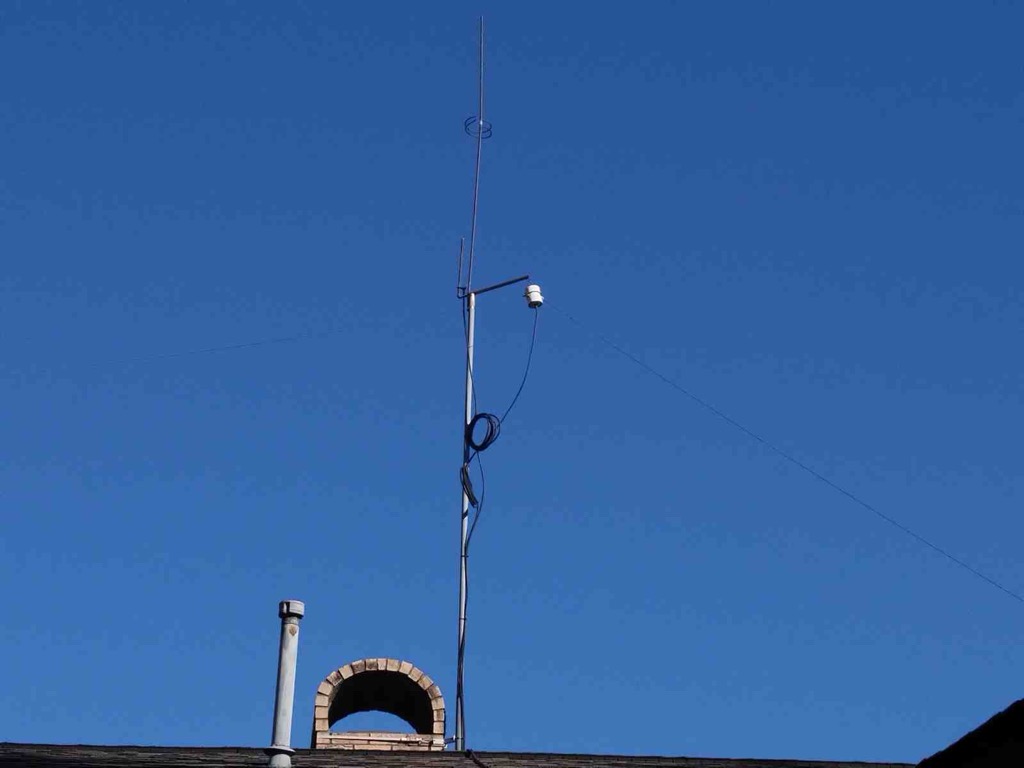 My antenna is a Windom OCF (off-center feed) inverted V-shaped dipole wire antenna. I mounted it on top of my house about 30 feet above the ground. This antenna, with a tuner, is capable of operating from 80 Meter (3.5 MHz) up to 10 Meter (28 MHz), which is the same frequency that my ICOM IC-718 HF radio operates on. For some reason, I’ve never been able to get my antenna and tuner to operate on 160 Meter (1.8 MHz). This type of antenna is available for purchase online, however, a lot of the fun of the ham hobby is making some of the items yourself.
Of course, when the SHTF, or if a storm takes down your antenna, if you have the materials on hand, you can made another one and be back in operation. I went online and found some instructions on how to make a wire antenna, bought the items, and put together my antenna myself. It is also a good idea to print these instructions before there might be no grid power, no Internet, and no printer. I also have a book in my collection from the American Radio Relay League (ARRL) called the ARRL’s Wire Antenna Classics. This is a good reference book to have, however, this book may go into much more detail than some people may want.
The antenna that I made uses a balun, which is a balanced to un-balanced device that makes the antenna and the coax work together correctly. Things get deep quick when we start talking about matching the ohms with the resonator and why a balun is needed, so I’m just keeping things simple here. I also bought the items and made my own balun. To make all of the different bands (groups of frequencies) operate on the same antenna I opted to add an automatic tuner. I chose the LDG Electronics AT-1000 AUTOTUNER. This has the capacity for 1,000 watts just in case I want to add an amplifier. Later, I did add an Ameritron ALS-600 (600-watt output) solid-state amplifier, I rarely use the amplifier, but it is better to have and not use very often than need it later and not have it!! The only other item needed is coax to connect the radio to the tuner and the tuner to the antenna.